

 English
 Español



news
Home / News / Industry News / How to Reline a Weed Eater: Line Sizes, Spool Winding, and Field Fixes
Home / News / Industry News / How to Reline a Weed Eater: Line Sizes, Spool Winding, and Field Fixes

Content
A trimmer head that keeps breaking line or refusing to feed usually has a simple cause: the spool was wound in the wrong direction, the line diameter is too large for the head, or the line was not seated under the retaining slot before the cover went back on. The good news is that relining a weed eater is a fifteen-minute job once you match the head type and line size. The reliable process is to disconnect power, remove the spool, clean the head, wind the line in the direction of the arrows, leave equal tails, and test the bump feed before you return to the fence line.
The first decision is not how to wind the line but which line the head was designed to take. Most failures start with a line that is one size too thick, a spool that is overfilled, or a replacement line that is too stiff for the guide eyelets. Check the manual or the sticker on the head for the specified diameter. Common trimmer line sizes include 0.065, 0.080, 0.095 and 0.105 inch, but the correct choice is the one listed for your model, not the thickest line that fits through the eyelet.
A second check is spool condition. Cracked spools, worn eyelets and missing springs cause line to snag or feed unevenly. If the cover does not seat with light pressure, stop and inspect the spool alignment rather than forcing it. For general handling and maintenance points, the lawn trimmer use guide is a useful reference before you start a repair.
 A40DC350B01 40V Cordless String TrimmerA 40V cordless trimmer with 14-inch cutting width, bump-head line feed and dual twist line, useful when checking spool condition before repair.View Product →
The sequence below covers the most common two-line spool. Some heads use two separate line lengths; others use one long line folded at the midpoint. The winding direction and the retaining slot matter more than the exact number of wraps.
Switch off the engine or remove the battery pack. On a gasoline trimmer, pull the spark plug boot off the plug and tuck it away from the cylinder. Wait for the head and muffler to cool. Wear gloves and eye protection, and work on a clean surface so small springs and washers do not disappear into grass clippings.
Press the release tabs or unscrew the retaining cap. Many threaded caps loosen clockwise, but check the cap or housing for an arrow before applying force. Lift out the spool, remove old line, and brush out dirt, dried sap and trimmed grass. Inspect the eyelets for sharp edges; a burr will cut new line within minutes.
Start the trimmer away from windows, pets and loose gravel. Bump the head lightly on grass or bare soil at low throttle. The line should advance in short, even increments. If it does not feed, stop the engine or remove the battery before opening the head again. Compact cordless models follow the same sequence; a 20V trimmer such as the H20DC250 may use lighter line and a smaller spool, so confirm the rated diameter before winding.
 H20DC250/H20DC250X 20V Cordless String TrimmerA compact 20V cordless trimmer with 10-inch cutting width and 1.6 mm line, relevant when confirming spool and line size for lighter models.View Product →
Do not assume every trimmer head is a standard spool. A speed-load head often uses a short line inserted through one eyelet until it exits the opposite side, then the head is rotated to take up the slack. A fixed-line head may use pre-cut segments with molded ends, and some models use plastic blades for heavier weeds. Using the wrong line or trying to overfill a quick-load head can damage the retaining mechanism.
Most feed faults can be diagnosed without opening the gearbox. Use the table below as a quick field check, then confirm the line diameter and winding direction against the manual.
| Symptom | Likely cause | Field fix |
|---|---|---|
| Line feeds too much | Spool overfilled or line wound too loosely | Remove excess line; rewind under light tension; leave 6-inch tails |
| Line will not feed on bump | Wrong winding direction or line pinched under cover | Check arrows; rewind; seat line in the slot; refit cover squarely |
| Line breaks at the eyelet | Line too large, worn eyelet, or brittle old line | Use specified diameter; smooth sharp edges; replace old line |
| Head vibrates or runs rough | Unequal tails, dirt in spool, or cracked spool | Cut equal tails; clean the head; replace a cracked spool |
A clean reline is only half the job. The other half is keeping the head and line in condition between jobs.
For a dealer, municipality or landscape contractor, the cost of a trimmer is not only the purchase price. It is also the time spent matching line, replacing spools and training operators. Standardizing a small number of line diameters and head types across a fleet reduces inventory and makes relining predictable. Before ordering a batch, check that replacement spools, covers and springs are available for the exact model, and confirm whether the head uses a bump-feed spool or a quick-load system.
Aosheng’s range includes gasoline brush cutters and 20V and 40V lithium trimmers, so buyers can compare platforms against the work profile rather than mixing incompatible heads. If you are specifying trimmers for a dealer program or a maintenance fleet, the contact page can confirm model details, spool availability and line specifications before you commit to an order.
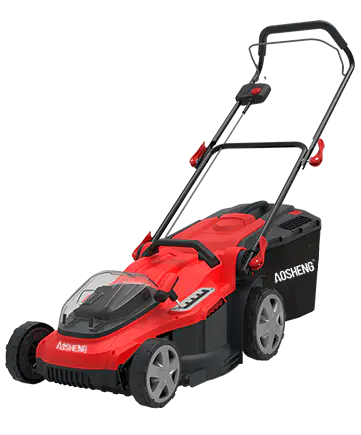
Deck Size:40CM/16INCH 3-in-1 function: Mulching, rear bagging&side discharge Easy-to-use fold-in system
See Details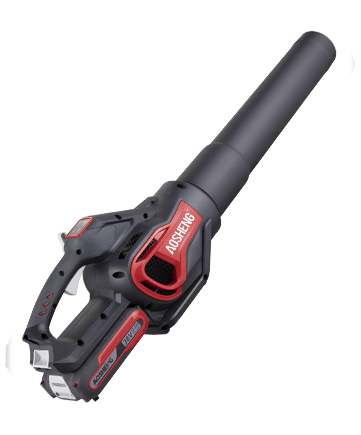
Turbine boost functionBig air volumeInstant startBackpack option for extra battery power
See Details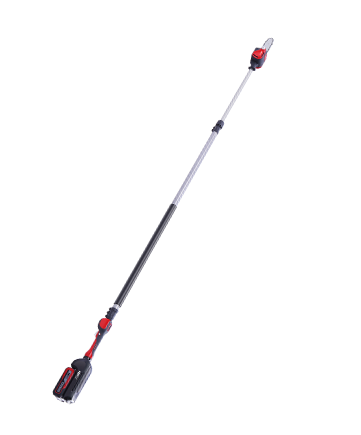
Extension height of 400cmOregon Bar & ChainTool-less chain tension systemAutomatic oiling systemBackpack option for extra battery power
See Details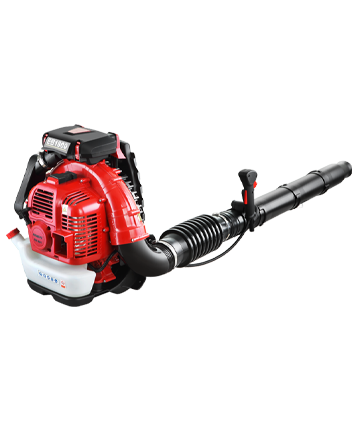
Extremely comfortable adjustable handle Large capacity fuel tank The largest air volume in China Use fire-retardant pipes to extinguish the fire Luxury widen & thicken straps Patented engine reac...
See Details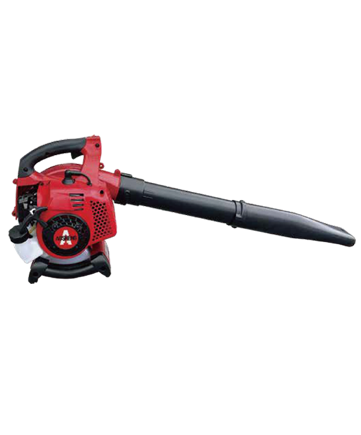
Suction and blowing Euro 5 certification Rubber-coverd handle, Strength nylon collecter.
See Details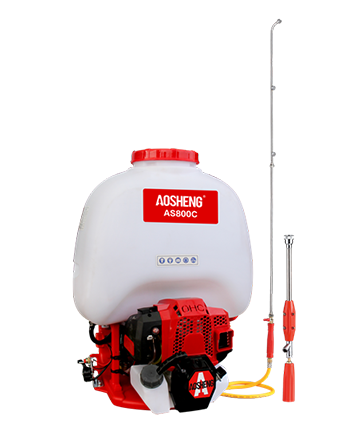
High preformence engine with high quality accessories. Copper meterial pressure pump, corrosion resistance.high atomization effect. Used in agriculture,eqidemic prevention, and disinfection.
See Details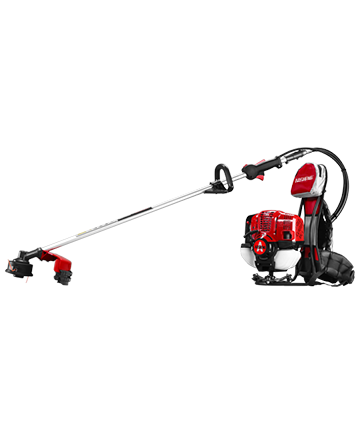
Professional engine, strength power.low consumption, easy to start.Rotating 360°Comfortable control handle and sponge belt. The trimmer head can offer a 460mm cut width. alloy blade diameter is 10 inc...
See Details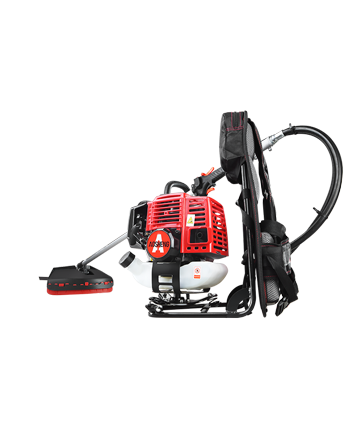
High-performance engine, displacement is 33CC.Professional use opens up wastelandTube size 26mm*1.5mm, strength flexible shaft.Cutting width is 420mmLifetime over 150hours
See Details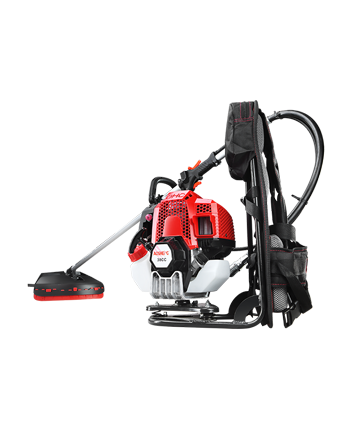
High-performance 4-stroke engine,displacement is 38CC. Professional use in the open-up wasteland Tube size 26mm*1.5mm, strength flexible shaft.Cutting width is 420mm Life time over 150hours New design...
See Details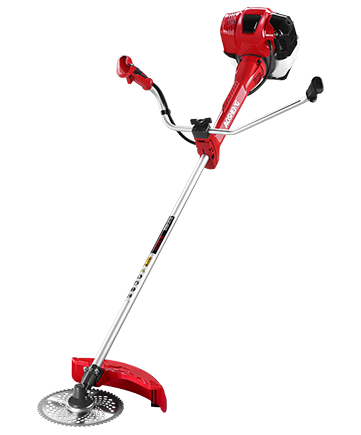
Professional engine, strength power. low consumption, easy to start.Rotating 360°The pole part uses a damper cover. The control handle can rotate 180° to decrease absorption. Rubber-covered handles ma...
See Details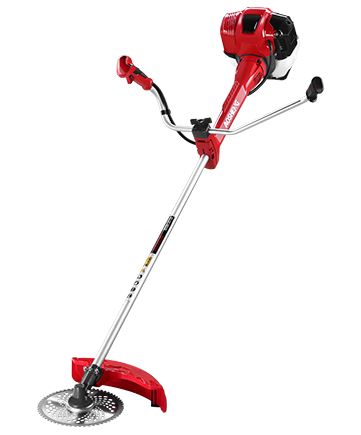
Professional engine, strength power. low consumption, easy to start. Rotating 360° The Pole part uses a damper cover. The control handle can be rotated 180° to decrease absorption. Rubber-covered hand...
See Details