

 English
 Español



news
Home / News / Industry News / How to replace a carburetor: Applications, Selection Criteria, and Practical Guidance
Home / News / Industry News / How to replace a carburetor: Applications, Selection Criteria, and Practical Guidance

Content
Two seasons ago a landscaping crew dropped off a 43 cc brush cutter that would fire on full choke, rev hard, then die the moment the trigger came off. The carburetor had about 0.8 mm of side-to-side play at the throttle shaft — an air leak no rebuild kit can seal. A replacement unit had the machine cutting grass again in 35 minutes, and the whole job cost less than an hour of shop labour.
That is the normal shape of this repair on mowers, chainsaws, trimmers, blowers and water pumps. The decision is rarely "is the carburetor dirty" — it is "is the body, the shaft bore or a passage worn beyond saving". Once that answer is replace, the work itself is straightforward hand-tool maintenance, provided the gaskets, the fuel lines and the flange torque are handled in the right order.
Clean and re-kit the carburetor only when the body is sound. On a two-stroke, air pulled past a worn throttle shaft leans the mixture out, and a lean mixture can score a piston within a couple of tanks of fuel — well before the owner notices anything beyond a rough idle. Aluminium bodies also pit permanently once water sits in the bowl or metering chamber, and no amount of carburetor cleaner restores the surface.
| Finding on the old unit | What it tells you | Best move |
|---|---|---|
| Side-to-side play at the throttle shaft above 0.5 mm | Air is leaking past the shaft; idle can never be set stable | Replace |
| White or green corrosion, pitted venturi walls | Ethanol and stored moisture have eaten the aluminium | Replace |
| Passages clean, but the engine still hunts at idle | Internal check valve or welch plug has failed | Replace |
| Varnish only, shaft tight, body sound | Old fuel, not wear | Clean or rebuild |
| Cracked mounting ear or stripped bowl screw | Damage left by an earlier repair | Replace |
On cost, an aftermarket replacement for a small two-stroke typically lands between 15 and 45 USD, an OEM unit between 40 and 90 USD, and a rebuild kit between 6 and 20 USD. The kit only saves money if the body is worth saving.
Most gasoline brush cutters share this layout: two studs, a heat insulator between carburetor and cylinder, and the primer bulb sitting on the return line. That is exactly what you will find behind the filter cover on a unit such as the CG430GX, where both flange nuts are 8 mm and reachable without removing the engine cover.
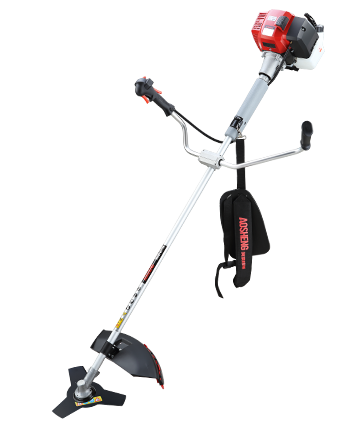 CG430GX 43cc Gasoline Brush Cutter43cc two-stroke brush cutter for professional clearing, with a diaphragm carburetor, 420 mm cutting width, and 1.2 L tank.View Product →
Carburetors are matched by engine family and displacement, and often by a code stamped on the mounting flange. Two cutters that look identical on the outside may carry 40 cc and 43 cc top ends with different venturi sizes. Fitting the smaller carburetor to the larger engine gives a crisp top end for ten minutes and then an expensive piston.
Verify three things before bolting anything on:
Get the engine warm before judging anything. Then work in this order:
A chainsaw is the least forgiving of the group, since a lean top end shows up as a screaming, hesitating cut rather than a stumble. Saws such as the AS4500A respond cleanly to a fresh carburetor when the shaft play is gone and the tuning sequence above is followed with the bar under load.
 AS4500A 45cc Gasoline Chainsaw45cc chainsaw with 1.8 kW engine, 18-inch guide bar, automatic pump oiler, and safety brake for cutting work.View Product →
Two-stroke equipment uses a diaphragm carburetor with an internal fuel pump and no bowl, so it can run at any angle. Four-stroke mowers and water pumps use a float bowl, sometimes with a fuel shutoff solenoid threaded into the bowl. The float type needs the bowl drained before removal, and the solenoid wire must be reconnected on reassembly or the engine will crank with no fuel at all. Water pumps are the easiest of the group to service because the carburetor sits high and exposed, as on the QGZ2530GX, where the bowl can be dropped without removing a single cover.
 QGZ25-30-GX 1-Inch Gasoline Water Pump38cc four-stroke water pump for irrigation, with 30 m lift, 1-inch outlet, aluminum self-priming body, and compact 7.48 kg build.View Product →
If a new carburetor still will not produce a running engine, stop removing it and check the other two legs of the triangle: spark and compression. A diagnostic order for small gasoline engines that fail to start will save a second dismantling.
Ethanol-blended fuel absorbs moisture and leaves varnish in the metering passages after roughly 60 to 90 days of sitting. Run the carburetor dry at the end of the season — close the valve and let the engine idle until it stops — or dose the fuel with a stabiliser and run it through the system. Store machines with a full, sealed tank to limit condensation, and never leave mixed two-stroke fuel in the tank across a winter. A carburetor that is fed fresh fuel and stored dry will usually outlast the machine around it.
A carburetor replacement really only fails in three places: the gasket, the fuel lines and the flange torque. Get those right, set the L screw by ear with the engine warm, and the machine behaves the way it did when the tank was new. If you are specifying machines for a fleet rather than repairing one, the engine family and carburetor fit across the gasoline garden tool range can be confirmed against the model list before you commit to a parts stock.

Deck Size:40CM/16INCH 3-in-1 function: Mulching, rear bagging&side discharge Easy-to-use fold-in system
See Details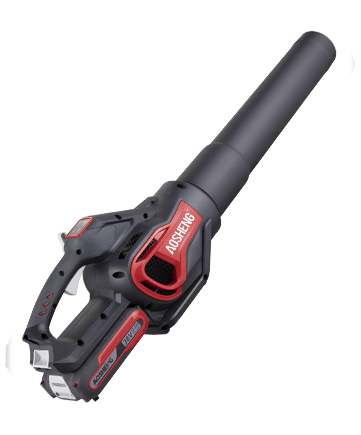
Turbine boost functionBig air volumeInstant startBackpack option for extra battery power
See Details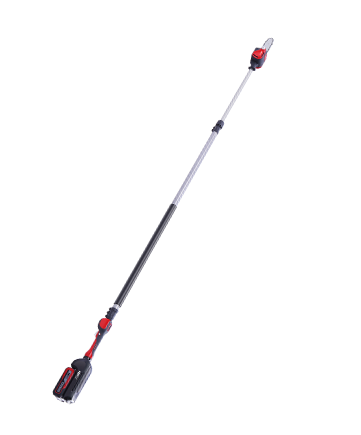
Extension height of 400cmOregon Bar & ChainTool-less chain tension systemAutomatic oiling systemBackpack option for extra battery power
See Details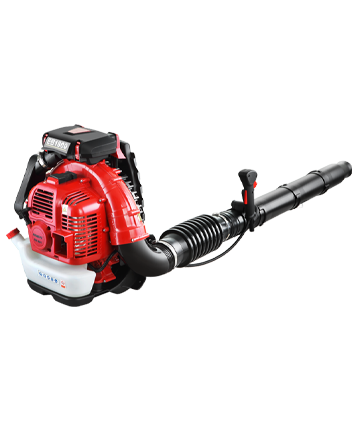
Extremely comfortable adjustable handle Large capacity fuel tank The largest air volume in China Use fire-retardant pipes to extinguish the fire Luxury widen & thicken straps Patented engine reac...
See Details
Suction and blowing Euro 5 certification Rubber-coverd handle, Strength nylon collecter.
See Details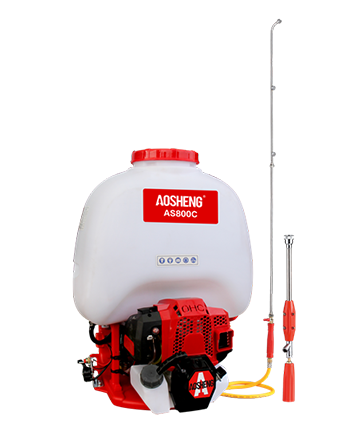
High preformence engine with high quality accessories. Copper meterial pressure pump, corrosion resistance.high atomization effect. Used in agriculture,eqidemic prevention, and disinfection.
See Details
Professional engine, strength power.low consumption, easy to start.Rotating 360°Comfortable control handle and sponge belt. The trimmer head can offer a 460mm cut width. alloy blade diameter is 10 inc...
See Details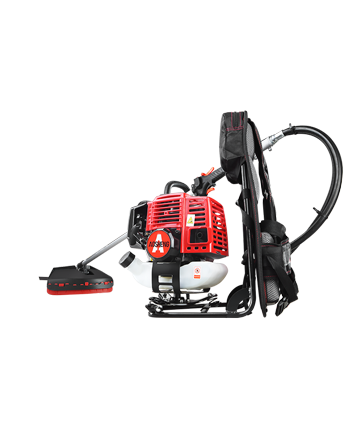
High-performance engine, displacement is 33CC.Professional use opens up wastelandTube size 26mm*1.5mm, strength flexible shaft.Cutting width is 420mmLifetime over 150hours
See Details
High-performance 4-stroke engine,displacement is 38CC. Professional use in the open-up wasteland Tube size 26mm*1.5mm, strength flexible shaft.Cutting width is 420mm Life time over 150hours New design...
See Details
Professional engine, strength power. low consumption, easy to start.Rotating 360°The pole part uses a damper cover. The control handle can rotate 180° to decrease absorption. Rubber-covered handles ma...
See Details
Professional engine, strength power. low consumption, easy to start. Rotating 360° The Pole part uses a damper cover. The control handle can be rotated 180° to decrease absorption. Rubber-covered hand...
See Details